
Working With Long, Skinny Plush Pieces
When you're just beginning your plush sewing journey, one of the most unexpectedly tricky challenges can be sewing long, narrow fabric sections.
These pieces might seem simple, but uneven fabric feeding can quickly lead to twisted or warped results—especially with plush materials that stretch easily.
There are two main strategies to help you avoid these issues. First, ensure the fabric feeds evenly through your machine. Use plenty of pins and an appropriate presser foot to stabilize the layers. Increasing the stitch length can also be helpful when working with thick or plush fabrics.
Second, keep your sewing direction consistent. For example, if you're stitching from the neck down to the tail on the top side of a snake plush, make sure you stitch in the same direction (neck to tail) on the bottom side as well. This helps maintain symmetry and reduces warping.
Flip Process
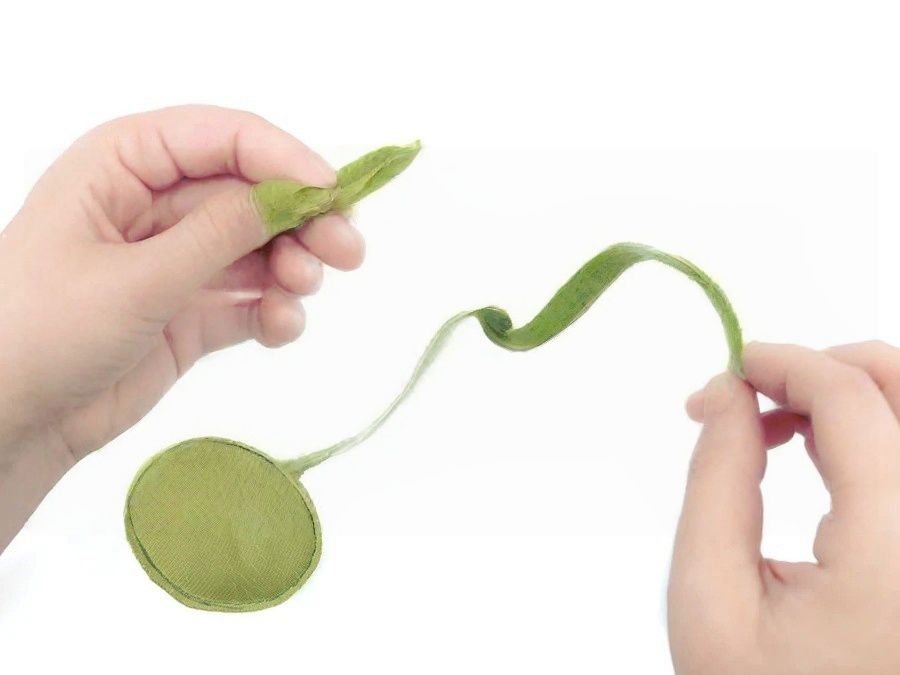
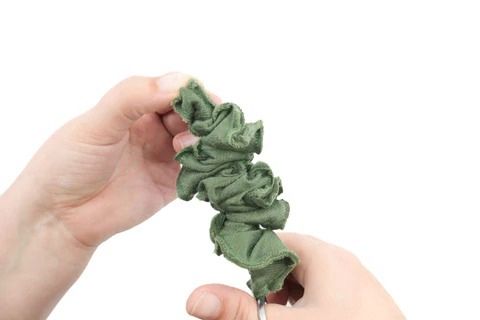
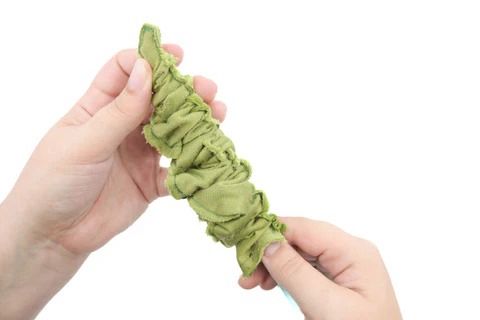
When working with slender objects, the next major challenge is often how to flip them over. Among my two go-to tools, the first and the one I prefer the most is the hemostat.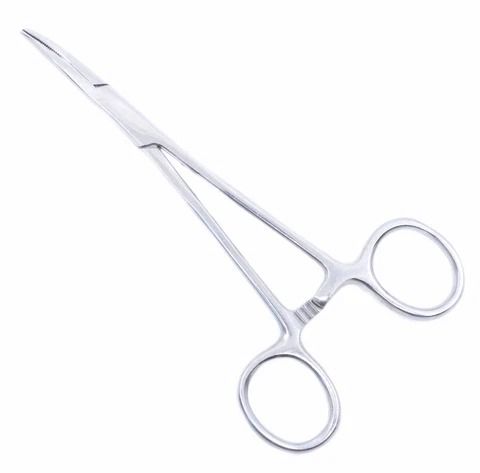
Often referred to as forceps or hemostats, these medical tools can quickly make you fall in love with sewing. Simply reach in and grasp the other end of the fabric. If the fabric is longer than the hemostat, you might need to roll it up first. Then, just pull the fabric through to turn it right side out.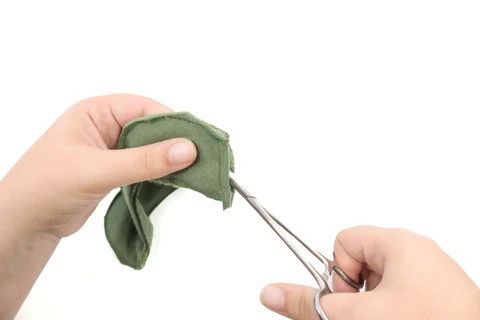

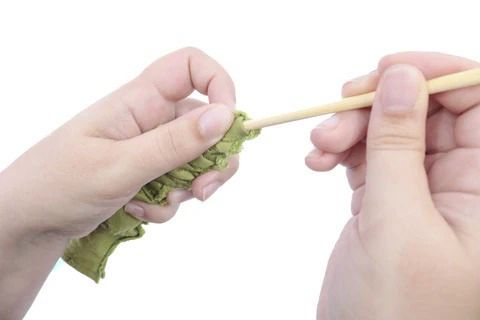
Another method I really enjoy involves using a straw and a chopstick. First, insert the straw into your project. If the straw is longer than the fabric, you can wrap the fabric around the straw. Then, use the chopstick to poke through the other end and push the fabric into the straw. As the fabric rolls around the chopstick, it naturally turns right side out.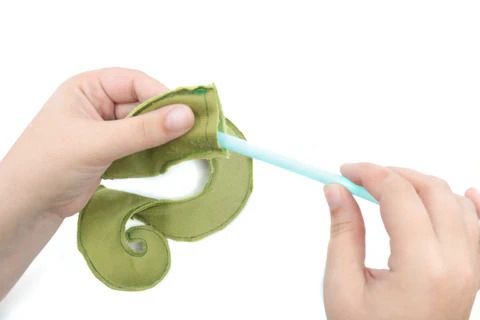
There are also a variety of tools specifically designed for turning fabric, but they generally work in much the same way as the two methods mentioned above.
Stuffing:
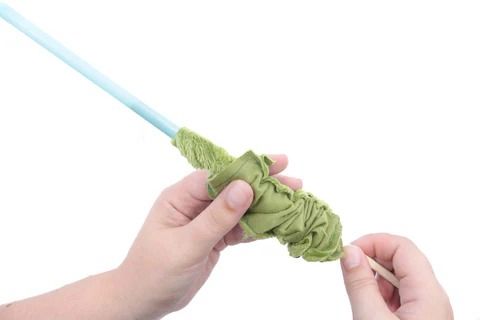
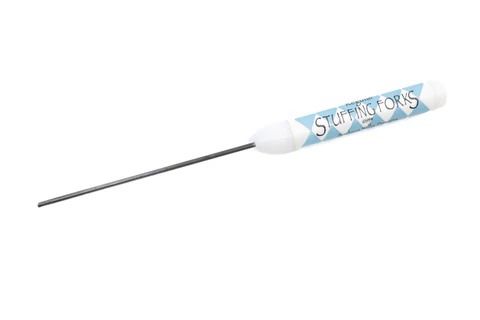
When stuffing long, narrow plush items, a stuffing fork becomes especially handy. These tools are usually metal rods with a handle on one end and a U-shaped notch cut into the top.
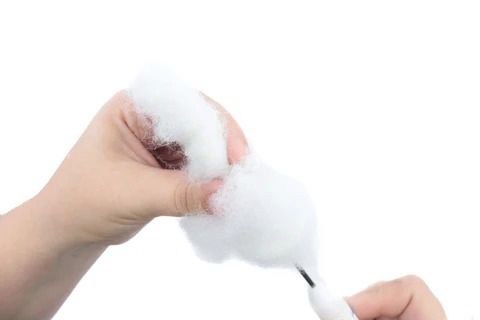
Grab a small amount of stuffing. Hold it gently between your thumb and index finger, then insert the fork through the center. Rotate the fork while maintaining pressure with your fingers until the stuffing wraps around it like a cotton swab.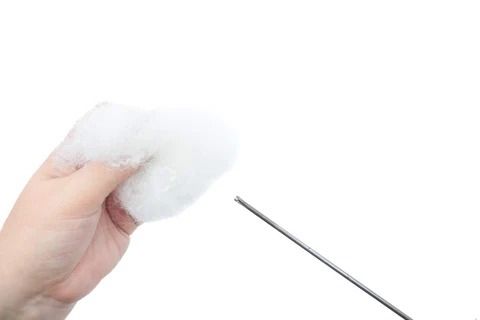
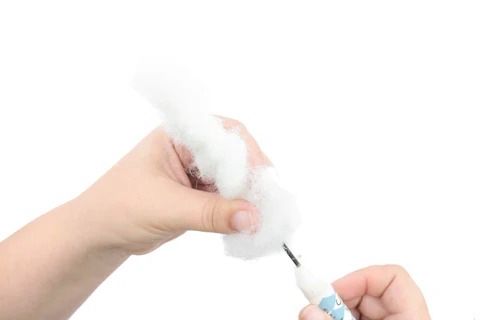
Use your index finger to hold the stuffing in place and prevent it from coming apart. Insert the fork into the plush toy and push the stuffing into position. You can gently pinch the fabric from the outside to help keep the stuffing compact, then pull the fork out. The fork also allows you to push and adjust stuffing in areas your fingers can’t reach.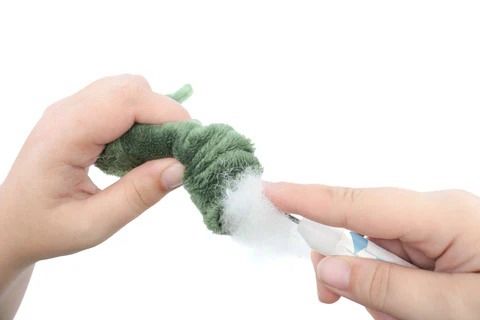
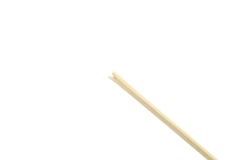
You can also make your own stuffing fork using a chopstick! Just carve a small U-shape at the top (be careful not to crack it, as chopsticks aren't always the strongest), and use it the same way you would a regular stuffing fork. In my experience, it might not work quite as well, but it gets the job done.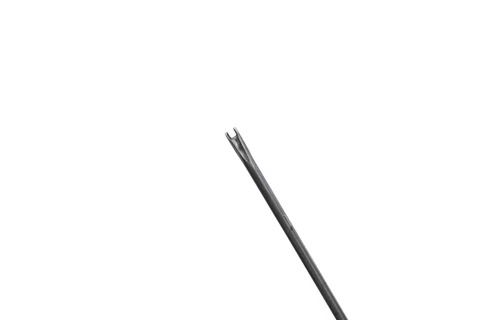
Hemostats are also a great option. You can use them to grab a bunch of stuffing and simply push it inside. Much like a stuffing fork, they’re also useful for gripping and adjusting stuffing deep inside the plush toy where your fingers can’t reach.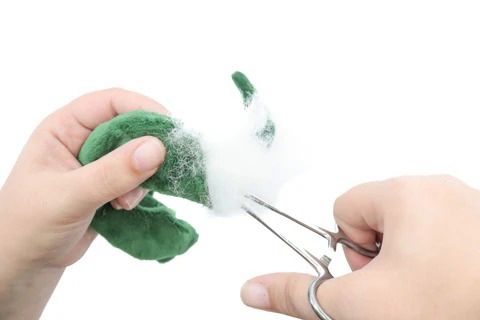
Finally, if you just can’t reach the area that needs stitching, you can make a small opening along the seam and sew it shut by hand later. Alternatively, if you're worried about issues during sewing, you can intentionally leave a few gaps to give yourself more flexibility.